Paint finishes are only as reliable as what lies beneath them. Flaws like hidden cracks, grime, or trapped moisture silently sabotage even the most expensive products. Residential painters understand that successful results come from proper prep—not just application. 7 paint problems residential painters tackle before work begins focus on restoring surface stability, ensuring clean adhesion, and avoiding early failure.
This breakdown explores where most paint jobs go wrong and how professionals handle those issues ahead of time. Ponderosa Painting emphasizes, “Good painting depends on smart preparation. That’s where the quality really starts.”
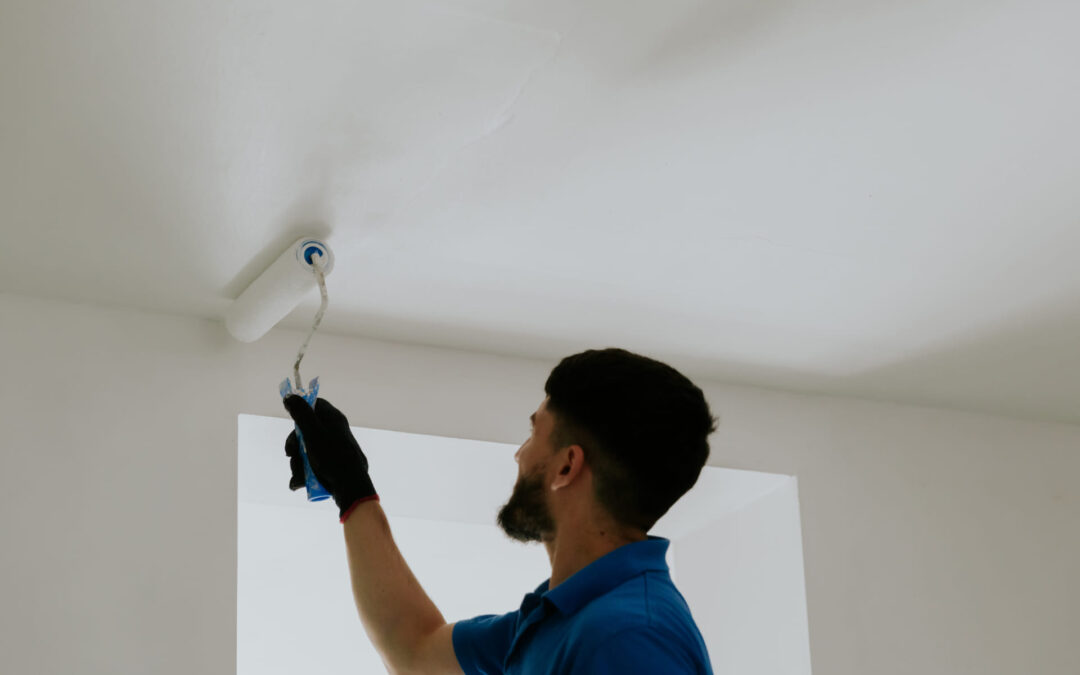
1. Rough Walls Distort Paint Finish
Walls might look flat until light hits them the wrong way. Small ridges, joint lines, and uneven repairs become painfully obvious under modern low-sheen paints. Residential painters inspect surfaces closely and address high and low points before moving forward.
They use feathering techniques, sanding sponges, and skim coats to correct irregular areas. This allows the paint to reflect light smoothly without creating visual distractions or blotchy areas.
-
Uneven drywall causes unwanted shadows and visible texture variations
-
High-contrast paint colors highlight even tiny surface flaws
-
Professional smoothing minimizes roller marks and patch outlines
2. Hidden Moisture Leads to Long-Term Damage
Moisture doesn’t always show itself in obvious ways. Subtle signs like soft drywall, peeling corners, or faint odors can indicate water trapped behind the surface. Residential painters often find moisture problems before property owners even notice them.
They check for leaks around windows, bathrooms, and ceiling lines, using both tools and experience. Without resolving these issues first, paint will eventually blister or crack—regardless of the product used.
-
Moisture meters help painters detect dampness not visible to the eye
-
Stain-blocking primers are used after water exposure is sealed off
-
Homes with poor ventilation are more likely to have recurring moisture issues
3. Weak Paint Layers Interfere with New Coats
Older paint sometimes looks solid but lacks the grip needed to hold fresh coats. When it begins to flake or chalk, it compromises adhesion and reduces lifespan. Residential painters test these layers and remove them as needed.
They scrape, sand, and in some cases apply sealers or bonding primers to stabilize what’s left behind. If ignored, these brittle layers can peel off, bringing the new paint down with them.
-
Poor adhesion is one of the top reasons paint fails early
-
A chalky surface indicates oxidation and must be cleaned before painting
-
Failing layers increase the likelihood of bubbling and cracking later
4. Contaminants Weaken Paint Bonding
Greasy fingerprints, soot, and fine dust settle on walls over time, especially in kitchens and near heating vents. These contaminants can’t be seen easily, but they create a barrier between the wall and the paint. Residential painters treat cleaning as a critical part of the prep process.
They use professional-grade degreasers, rinse agents, and abrasives to eliminate residue before paint is applied. Even small missed spots can cause fish-eye textures or uneven adhesion.
-
TSP and similar products strip grease and smoke effectively
-
Walls exposed to cooking fumes or candles often need extra cleaning
-
Sanding after cleaning improves bonding on semi-gloss and glossy surfaces

5. Paint Type Mismatches Cause Peeling
Not all paints stick to each other. Latex and oil-based paints require different prep steps, and applying one over the other without a proper transition will usually fail. Most homeowners can’t tell the difference by sight, but residential painters can.
They conduct basic tests to identify the current surface type, then recommend sanding or using a high-adhesion primer if switching formulas. This step is especially important for older homes with oil-painted trim or doors.
-
Latex paint won’t bond to glossy oil without surface abrasion
-
Bonding primers help bridge gaps between incompatible coatings
-
Many homes built before the 1990s still have oil-based finishes in key areas
6. Trim Gaps Interrupt Clean Lines
Over time, wood trim expands and contracts. This creates small openings between the wall and molding or between pieces of trim. These gaps catch paint unevenly and often lead to cracking at the seams if left unsealed.
Residential painters close these openings with durable caulk, then tool the bead to blend seamlessly into the surface. Once painted, the result is a sharper line and a more finished look.
-
Flexible caulks accommodate seasonal movement in wood
-
Gaps left untreated create visible lines that worsen with time
-
Proper caulking also improves energy efficiency and reduces dust collection
7. Climate Conditions Impact Paint Curing
Indoor and outdoor conditions dramatically affect how paint dries and performs. Rooms that are too humid or too cold can keep paint from curing properly, causing sticky spots or streaks. Residential painters pay close attention to temperature and moisture before starting.
They measure conditions and plan accordingly—sometimes waiting for better weather, or adjusting airflow inside the home. This step ensures the coating hardens evenly and delivers a consistent finish.
-
Ideal temperature for most interior paints is between 50°F and 85°F
-
Humid air slows drying, increasing the chance of smudging and dirt pickup
-
Drying too fast can leave uneven gloss and visible overlap lines

How Paint Longevity Starts With the Prep
Long-lasting paint jobs rely on what’s done before any color hits the surface. Problems like peeling layers, moisture damage, or unclean walls all affect how paint holds up—and how often it needs to be redone. Residential painters deal with these quietly destructive issues to make sure the finish lasts.
Ponderosa Painting approaches each project by first correcting what can’t be seen once the job is done. That attention to detail doesn’t just improve results—it extends the life of every paint job.
Key Takeaways From Residential Painters on Paint Prep Challenges
-
Level, clean surfaces create smoother, more durable finishes
-
Moisture issues must be fixed to prevent long-term paint failure
-
Older or failing paint needs stabilization before repainting
-
Cleaning and sanding remove invisible obstacles to adhesion
-
Climate monitoring ensures consistent drying and color results
Frequently Asked Questions
Why does my new paint peel off within a year?
The surface may have had old or chalky paint underneath, or there was moisture or grime that blocked proper bonding.
Can water-damaged walls be painted after drying?
Yes, but only after sealing stains and ensuring the drywall hasn’t softened or weakened beneath the surface.
Do painters always remove old paint?
Not always. If the existing layer is stable, they can paint over it. But if it’s peeling or cracking, it needs to come off.
How can I tell if my trim has gaps that need caulking?
Look for shadows, open seams, or visible lines where wood meets the wall—these should be filled before painting.
Does room temperature really matter when painting indoors?
Yes. Both temperature and humidity affect how paint sets, dries, and looks once finished.


